Why You'll Love It
- - Easy to assemble, no fancy equipment needed
- - Versatile flavors for any celebration
- - Perfect portion control for mindful snacking
- - Beautifully portable for lunchboxes or picnics
“These little cakes are a hit at my kids’ birthday party—so cute and delicious!”
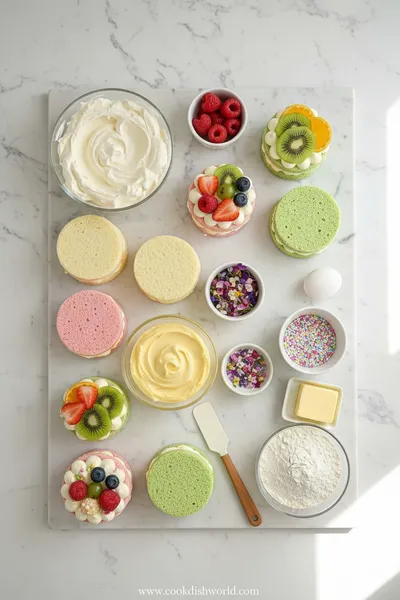
Essential Ingredient Guide
- All‑purpose flour: Provides structure; sift for a light crumb
- Unsalted butter: Adds richness; room‑temperature butter mixes smoothly
- Granulated sugar: Sweetens and helps create a tender crumb
- Vanilla extract: A dash gives a warm, comforting aroma
- Lemon zest: Adds a bright lift that balances butter richness
- Powdered sugar (for glaze): Creates a smooth finish when mixed with a splash of milk
Complete Cooking Process
-
Ingredient Readiness:
Measure and sift dry ingredients; soften butter and bring eggs to room temperature.
-
Flavor Development:
Cream butter and sugar until pale, then fold in vanilla and zest for a fragrant base.
-
Texture Control:
Gently fold flour to keep the batter airy, avoiding over‑mixing.
-
Finishing Touches:
Pipe a thin glaze over each mini cake and add decorative fruit or chocolate shards.
-
Serving Timing:
Allow the cakes to set for a few minutes before serving, so the glaze firms up.
- Line your mini‑muffin tin with parchment for easy release
- Chill the batter for 10 minutes to prevent spreading
- Use a piping bag for precise glaze application
- Store in an airtight container at room temperature for up to 2 days
Pro Tips
When you pull the tray out of the oven, notice how the tops spring up gently, a sign of a tender crumb. Letting them cool in the tin for a moment lets the steam settle, keeping the texture soft. I remember an early attempt where I over‑mixed, and the cakes turned dense—oops! This time I’m more careful, and the result feels just right.
The essence of the dish:
A fun fact or historical angle:
Flavor or sensory focus:
You Must Know
- Do not over‑mix the batter
- Cool the tin before removing cakes
- Glaze works best while still warm
Frequently Asked Questions
→ Can I use almond flour?
Yes, substitute the all‑purpose flour with a 1:1 almond flour blend, but the texture will be slightly denser.
→ How long do they keep?
Store in an airtight container at room temperature for up to two days; they stay soft and fresh.
→ Can I freeze them?
Absolutely—freeze after cooling, then thaw at room temperature before adding the glaze.
→ What fillings work best?
A thin layer of fruit jam, chocolate ganache, or sweetened cream cheese pairs nicely.
→ Do they need a special pan?
A standard mini‑muffin tin works perfectly; just line with paper liners for easy removal.
→ Are they suitable for gluten‑free diets?
Swap the flour for a gluten‑free blend; the texture remains tender.
Chef's Tips
If the batter seems too thick, add a tablespoon of milk to loosen.,Use fresh lemon zest for a brighter aroma.,For extra shine, let the glaze dry completely before packaging.
Nutrition Facts
per serving
180
Calories
3g
Protein
22g
Carbs
9g
Fat
Taste Profile
A gentle balance of buttery sweetness with a bright citrus hint
Ingredient Substitutions
Don't have an ingredient? Try these alternatives
Use a 1:1 ratio; may need a bit more liquid
Will alter flavor slightly; coconut oil adds a hint of tropical aroma
Recipe Variations
Try these delicious twists on the original
Spicy Version
Add a pinch of cayenne and a drizzle of chocolate for a subtle kick.
Mediterranean Style
Top with a thin slice of apricot and a dusting of crushed pistachios.
Common Mistakes to Avoid
Learn from others' mistakes for perfect results
- Over‑mixing the batter, leading to dense cakes
- Opening the oven too early, causing collapse
- Using cold butter, resulting in a gritty texture
Meal Prep & Storage
Make Ahead Tips
You can bake the mini cakes a day ahead; store in a sealed container and add the glaze just before serving.
Leftover Ideas
Reheat gently in a low oven (300°F) for 5 minutes to refresh the texture.
Perfect Pairings
Serve this with...
Cooking Timeline
Gather and measure all ingredients; preheat oven.
Cream butter and sugar until light and fluffy.
Fold dry ingredients into wet mixture; spoon into tins.
Bake cakes, then cool; prepare glaze while they rest.
Glaze and garnish; allow glaze to set before serving.
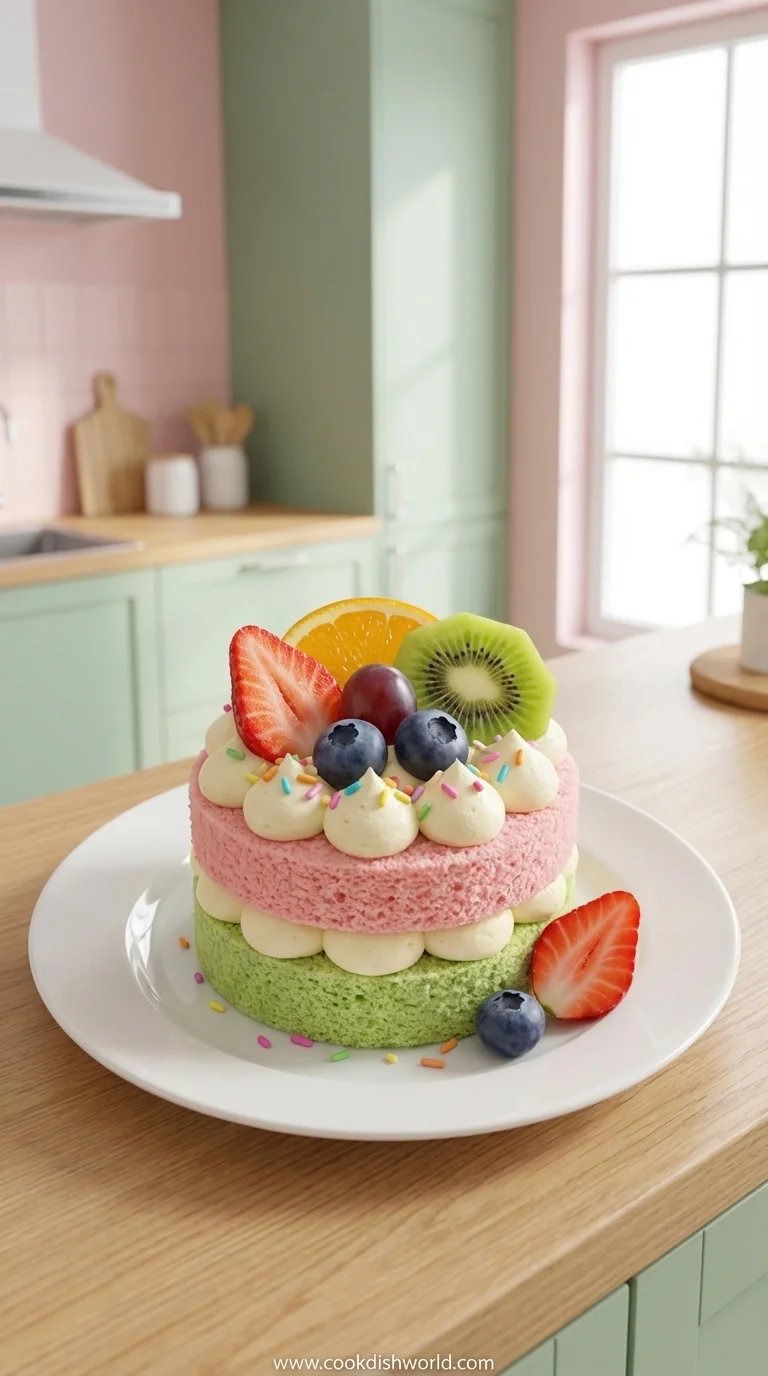
Adorable Bento Cakes Recipe
Create cute and tasty Bento Cakes with this easy, step‑by‑step guide—perfect for a fun dessert or snack!
Timing
Prep Time
20 Minutes
Cook Time
15 Minutes
Total Time
35 Minutes
Recipe Details
Ingredients
Cake Base
- 01 1 cup all‑purpose flour
- 02 1/2 cup unsalted butter, softened
- 03 1/2 cup granulated sugar
- 04 2 large eggs, room temperature
- 05 1 tsp vanilla extract
- 06 1 tsp lemon zest
- 07 1/2 tsp baking powder
- 08 Pinch of salt
Glaze
- 01 1 cup powdered sugar
- 02 2 tbsp milk
- 03 1/2 tsp vanilla extract
- 04 Optional: a few drops of food‑coloring
Instructions
Preheat the oven to 350°F (180°C). Line a mini‑muffin tin with paper liners.
In a bowl, cream butter and sugar together until light and fluffy; this takes about 3 minutes.
Add eggs one at a time, beating gently, then stir in vanilla and lemon zest.
Sift flour, baking powder, and salt; fold into the wet mixture just until combined.
Spoon batter into the liners, filling about three‑quarters full. Bake 12‑15 minutes, until golden and a toothpick comes out clean.
While the cakes cool, whisk powdered sugar, milk, and vanilla for the glaze; add color if desired.
Drizzle glaze over each cake, let set for a few minutes, then garnish with a tiny fruit slice or chocolate chip.
Notes & Tips
- 1 If the batter seems too thick, add a tablespoon of milk to loosen.
- 2 Use fresh lemon zest for a brighter aroma.
- 3 For extra shine, let the glaze dry completely before packaging.
Tools You'll Need
-
Mini‑muffin tin
-
Parchment liners
-
Electric mixer
-
Spatula
-
Sifter
-
Piping bag or small spoon
Must-Know Tips
- Do not over‑mix the batter, Keep the batter airy ...
- Let cakes rest in the tin for 2 minutes, Prevents collapse ...
- Glaze while cakes are still warm, Ensures a smooth coat ...
Professional Secrets
- Room temperature butter, Ensures even creaming
- Sift flour twice, Prevents lumps
- Use a light hand when folding, Preserves air pockets

Recipe by
AmeliaAmelia is a seasoned food blogger and recipe creator at CookDishWorld, where she blends culinary expertise with an unwavering love for sharing delicio ...
Get Delicious Recipes Weekly
Join 25,000+ home cooks getting our best recipes straight to their inbox.
Free forever • No spam • Unsubscribe anytime